Decadent Mini Chocolate Pies
Highlighted under: Baking & Desserts
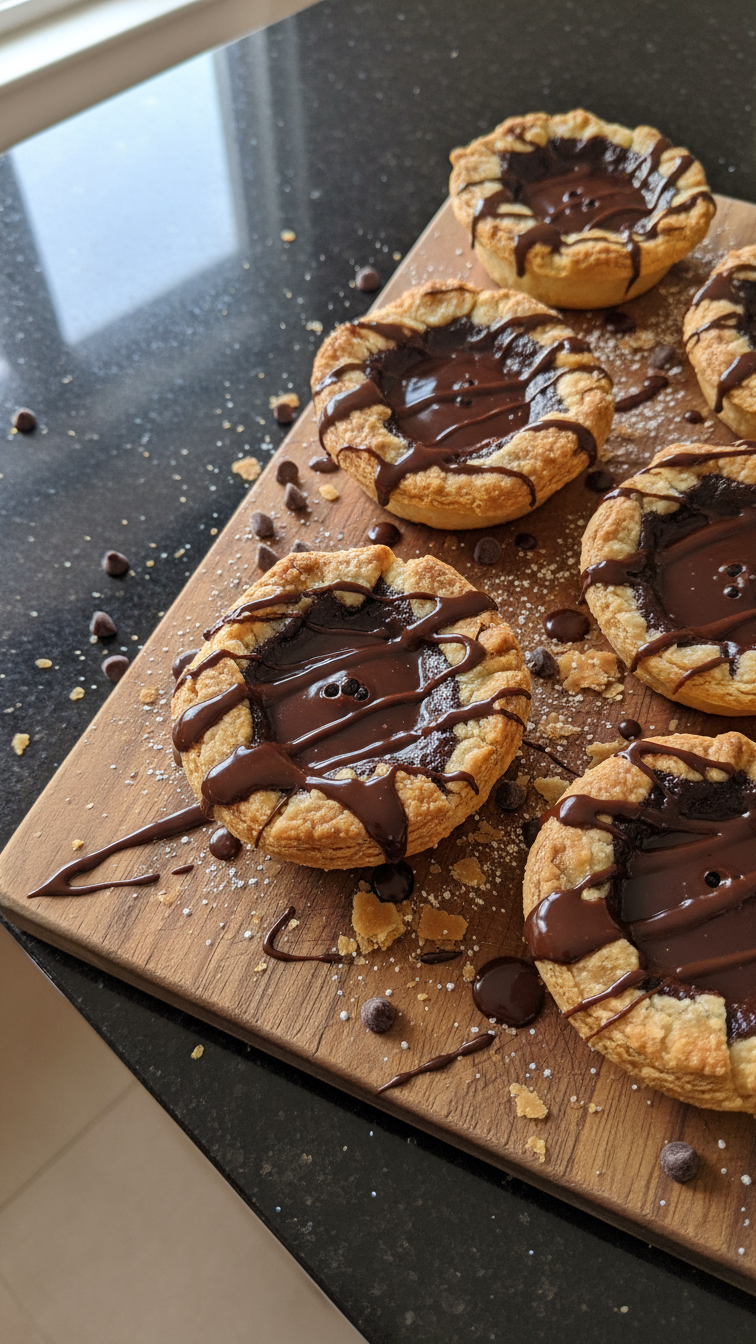
I've been on a quest to create the ultimate mini dessert, and these Decadent Mini Chocolate Pies are the result of my delicious experiments. Each bite is a burst of rich chocolate flavor, perfectly complemented by a buttery, flaky crust. I love how effortlessly they come together, making them perfect for both special occasions and a cozy night in. These little gems never fail to impress my friends and family, and trust me, they’ll be the star of your dessert table too!
When I first made these Decadent Mini Chocolate Pies, I was amazed at how easily they came together, yet how gourmet they tasted. I decided to tweak the classic chocolate filling by incorporating a touch of espresso, which really brings out the chocolate’s depth. With each bite, the creamy filling and flaky crust create a delightful experience that takes me straight to dessert heaven.
One tip I found invaluable is to chill the crust before baking it. This prevents shrinkage and ensures the pies hold their beautiful shape. Trust me, investing those extra minutes for chilling pays off in a huge way!
Why You'll Love These Mini Pies
- Rich chocolate flavor paired with a hint of espresso
- Heavenly creamy filling that melts in your mouth
- Perfectly portioned for guilt-free indulgence
Mastering the Pie Crust
The secret to a flaky and buttery pie crust lies in the handling of the butter. It’s important to keep your butter chilled until you’re ready to mix it with the flour. Using a pastry cutter works best for this task, as it allows you to incorporate the butter evenly without melting it. The mixture should resemble coarse crumbs when you’re done. If you find the dough too crumbly after adding ice water, adding a teaspoon more at a time can help bring it together effectively.
Chilling your dough is a critical step to avoid shrinkage during baking. I recommend resting the wrapped dough in the fridge for at least 30 minutes. If you're short on time, you can chill it in the freezer for about 15 minutes. When rolling out the dough, flour your surfaces generously to prevent sticking and use a pastry cutter to achieve uniform rounds that fit perfectly in your mini muffin tin. This attention to detail will yield a beautifully shaped crust.
Perfecting the Filling
The combination of heavy cream and chopped semisweet chocolate creates a decadent filling that is both rich and smooth. When heating the cream with espresso powder, do so gently; avoiding a rapid boil ensures that the chocolate won’t seize up when mixed in. Stir continuously until the chocolate is completely melted and the mixture is glossy—this indicates it’s ready for the next step. Allow it to cool slightly before incorporating it into the egg mixture to prevent curdling.
For varying sweetness levels, adjust the sugar in the filling according to your taste. If you prefer darker chocolate, you can substitute semisweet with a bittersweet chocolate for a more intense flavor. You could even add a splash of orange or peppermint extract for a unique twist that will elevate the flavor profile further as it melds beautifully with the chocolate.
Serving and Storing Your Mini Pies
These mini chocolate pies can be served immediately after cooling, but they taste best when chilled in the refrigerator for at least an hour. This allows the filling to set perfectly, making each bite a delightful experience. When garnishing, don’t skimp on the whipped cream and chocolate shavings; they not only enhance the presentation but also provide a flavor contrast that complements the richness of the pie.
If you have leftovers, store them in an airtight container in the refrigerator for up to three days. For longer storage, consider freezing the baked pies before adding the garnish; they can be kept in the freezer for about a month. Thaw in the refrigerator overnight and add your toppings just before serving for a decadent treat anytime.
Ingredients
For the Crust
- 1 1/2 cups all-purpose flour
- 1/2 cup unsalted butter, chilled and diced
- 1/4 teaspoon salt
- 1/4 teaspoon sugar
- 4-5 tablespoons ice water
For the Filling
- 1 cup heavy cream
- 1 tablespoon espresso powder
- 8 ounces semisweet chocolate, chopped
- 1/4 cup sugar
- 2 large eggs
- 1 teaspoon vanilla extract
For Garnish
- Whipped cream
- Chocolate shavings
- Fresh mint leaves
Instructions
Prepare the Pie Crust
In a mixing bowl, combine the flour, salt, and sugar. Add the chilled butter and mix until the mixture resembles coarse crumbs. Stir in the ice water, a tablespoon at a time, until the dough forms. Wrap in plastic wrap and chill for 30 minutes.
Pre-bake the Crust
Roll out the chilled dough and cut into small rounds. Fit them into a mini muffin tin, pressing down to form the crust. Preheat the oven to 350°F (175°C) and bake for 10-12 minutes or until lightly golden. Let cool.
Make the Filling
In a saucepan, heat heavy cream with espresso powder until just simmering. Remove from heat and add chopped chocolate, stirring until melted. In a bowl, whisk together eggs, sugar, and vanilla, then slowly pour the chocolate mixture into the egg mixture, stirring continuously.
Fill and Bake
Pour the chocolate filling into the pre-baked crusts, filling them to the top. Bake for an additional 15-18 minutes until set. Cool completely before refrigerating.
Serve
Top with whipped cream, chocolate shavings, and mint leaves just before serving for an extra touch of elegance.
Pro Tips
- For an even more intense chocolate flavor, consider using dark chocolate chips in the filling. Additionally, you can substitute the whipped cream garnish for a dollop of crème fraîche for a tangy twist.
Tips for Success
When filling the crusts, be careful not to overfill them, as the filling will puff up slightly while baking and could spill over. Pour until the batter is level with the crust edge. If you’re concerned about spillages, you could place the mini muffin tin on a baking sheet to catch any drips.
To ensure even baking, rotate the muffin tin halfway through the baking time. This helps to maintain consistent oven heat and leads to nicely set pies. Keep a close eye on them during the last few minutes; they should be just set and not wobbly in the center.
Ingredient Alternatives
If you're looking for a gluten-free option, swapping all-purpose flour for a 1:1 gluten-free flour blend works quite well in the crust recipe. Ensure your blend contains xanthan gum to help bind the crust effectively.
For a dairy-free version, replace heavy cream and unsalted butter with coconut cream and vegan butter, respectively. Use dairy-free chocolate for the filling—these swaps will still yield a satisfying pie without compromising on taste.
Variations to Try
For a rich caramel flavor, consider adding a layer of salted caramel sauce at the bottom of each crust before adding the chocolate filling. This creates a delightful contrast of flavors and adds an extra touch of decadence.
You can also play with toppings; crushed nuts like hazelnuts or almonds can provide a wonderful crunch when sprinkled over the whipped cream. Alternatively, a drizzle of raspberry sauce can add a fruity acidity that balances the pie’s richness beautifully.
Questions About Recipes
→ Can I make these pies ahead of time?
Absolutely! You can prepare the pies a day in advance. Just keep them refrigerated and add the whipped cream just before serving.
→ What can I substitute for espresso powder?
If you don’t have espresso powder, strong brewed coffee can be used. Just make sure to reduce the amount of cream slightly to maintain consistency.
→ How do I know when the filling is set?
The filling should be firm to the touch but still slightly jiggly in the center when you take it out of the oven. It will continue to set as it cools.
→ Can I freeze the mini pies?
Yes, these mini pies freeze well! Just wrap them tightly in plastic wrap and store in an airtight container. Thaw in the refrigerator before serving.
Decadent Mini Chocolate Pies
Created by: The Nibblevista Team
Recipe Type: Baking & Desserts
Skill Level: Intermediate
Final Quantity: 12 mini pies
What You'll Need
For the Crust
- 1 1/2 cups all-purpose flour
- 1/2 cup unsalted butter, chilled and diced
- 1/4 teaspoon salt
- 1/4 teaspoon sugar
- 4-5 tablespoons ice water
For the Filling
- 1 cup heavy cream
- 1 tablespoon espresso powder
- 8 ounces semisweet chocolate, chopped
- 1/4 cup sugar
- 2 large eggs
- 1 teaspoon vanilla extract
For Garnish
- Whipped cream
- Chocolate shavings
- Fresh mint leaves
How-To Steps
In a mixing bowl, combine the flour, salt, and sugar. Add the chilled butter and mix until the mixture resembles coarse crumbs. Stir in the ice water, a tablespoon at a time, until the dough forms. Wrap in plastic wrap and chill for 30 minutes.
Roll out the chilled dough and cut into small rounds. Fit them into a mini muffin tin, pressing down to form the crust. Preheat the oven to 350°F (175°C) and bake for 10-12 minutes or until lightly golden. Let cool.
In a saucepan, heat heavy cream with espresso powder until just simmering. Remove from heat and add chopped chocolate, stirring until melted. In a bowl, whisk together eggs, sugar, and vanilla, then slowly pour the chocolate mixture into the egg mixture, stirring continuously.
Pour the chocolate filling into the pre-baked crusts, filling them to the top. Bake for an additional 15-18 minutes until set. Cool completely before refrigerating.
Top with whipped cream, chocolate shavings, and mint leaves just before serving for an extra touch of elegance.
Extra Tips
- For an even more intense chocolate flavor, consider using dark chocolate chips in the filling. Additionally, you can substitute the whipped cream garnish for a dollop of crème fraîche for a tangy twist.
Nutritional Breakdown (Per Serving)
- Calories: 380 kcal
- Total Fat: 26g
- Saturated Fat: 15g
- Cholesterol: 195mg
- Sodium: 85mg
- Total Carbohydrates: 32g
- Dietary Fiber: 3g
- Sugars: 24g
- Protein: 6g